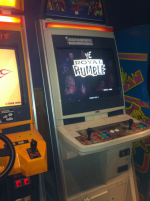
One Man's Insanity - Naomi Universal Restoration Thread

trenog

Gai's Trainer
10 Year Member
Joined
Dec 15, 2011
Posts
1,344
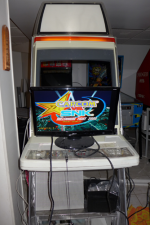
This thread is going to mark the long path I've taken to get a "great deal" of a cab from a place two hours away to the point of a full restore.

At this point I am finished with nearly all the painting (all that's left are the hooves) and I have need still to make it all shine with a good wet-sanding and polish. But I'll start from the beginning to show the depths of my madness...

This first post will track the current state of the cab with all others being picture logs of the procedure.
 

Chempop

BESTEST Buttrider in chat.Officially No.10 at Schm
Joined
Oct 12, 2010
Posts
3,024
As they say.... my body is ready! :drool: Been looking forward to this for a while.
 

trenog

Gai's Trainer
10 Year Member
Joined
Dec 15, 2011
Posts
1,344
Restoration Journal [04/09/2013] to [07/24/2013]

In the beginning

It all started with this thread:
http://www.cgcc.ca/forum/viewtopic.php?t=25217

And this cab:
01.png

An intriguing cab for a price too expensive for my tastes. I forgot about it over time, but I frequented the forums still.

Eventually the cab price dropped down to $600, no Naomi included. I got excited! I consulted with some forum members here and they also got excited. A Naomi Universal for $600??? Madness. The one caveat to the price was a payment in advance of the owner's vacation in the week to come. I knew that my window of opportunity was small so I expressed my interest to purchase. Because of his schedule he could not provide additional pictures of the interior but trusting in the state of the cab in the pictures I transferred the money and became the new owner.

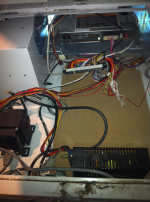
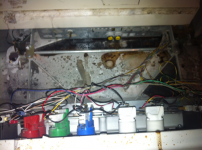
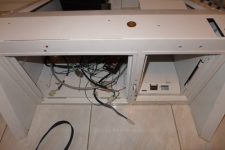
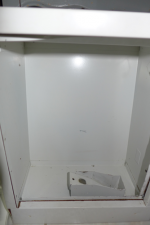
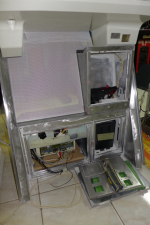
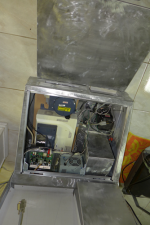
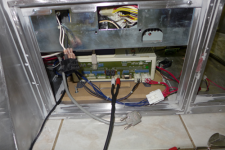
Time passes and upon his return he is finally able to provide me with more pictures of the cabinet's interior. I want to know the state of the internal hardware. It's clearly an American panel, but how is it wired? This is when my heart sinks...

04.png
03.png02.png

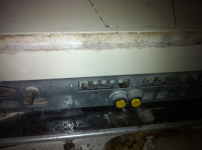
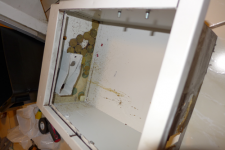
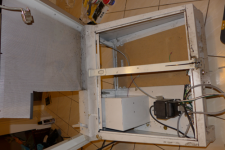
That is NOT the interior I was looking forward to! Stains! Direct soldering! Non-standard PSU and Isolation Transformer! JAMMA! What are those yellow buttons doing there? What is that volume knob doing there? And no, I didn't purchase the Capcom IO with the setup. I have one of those already...
 
Last edited:

trenog

Gai's Trainer
10 Year Member
Joined
Dec 15, 2011
Posts
1,344
Restoration Journal [08/12/2013]

Crestfallen, but not defeated, I finally made arrangements to go pick up the cab. It was to be a daunting journey even if it was "only" 2 hours away to drive. I had done my research. I knew what was supposed to be in a Naomi Universal cab. I knew how to disassemble a Naomi Universal cab (if I had my phone around to the Arcade Otaku website), and I had a van large enough to hold the bits when I was done taking it apart.

[The thread to know how to take apart the cab is: http://forum.arcadeotaku.com/viewtopic.php?f=5&t=46]

I get to the previous owner's house just before sunset and go down the small set of steps to his basement where only arcade cabinets live. He is a continual collector of arcade cabinets working and non-working, and has assembled his best in his basement. He shows me the cab and turns it on so I can see the screen. At least that part looks very nice. As for the rest of it, it's dirty as hell. Beyond this, the speaker connectors have been soldered to directly, though thankfully in a way that preserves the wire that leaves the speaker so that the offending connector can be replaced.

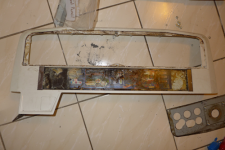
He tells me about the lack of locks, that the control panel has a locking bar reached by a wandering finger where the cp lock had been ripped out in its past, damaging the fiberglass hole. He notes that the marquee has been snapped at the two screw points to either side of it. There were a few more mentions, but I set myself to disassemble this beast, and that I would do.

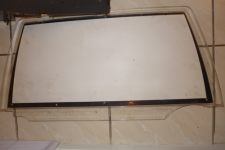
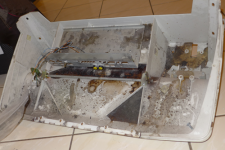
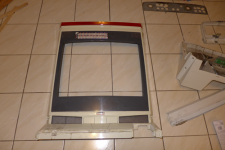
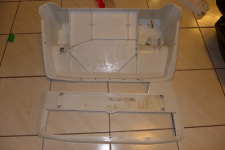
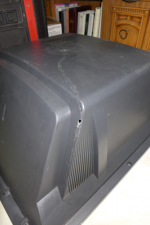
Aided by the tools I brought and some that he had on hand I began to slowly take apart the cabinet screw by screw. Placing them in labelled zip lock bags to recall their place on the cab. It was when I got to the monitor shroud that disaster struck again. The shroud is cracked! It's support elements have all but snapped! It is held on by virtue of the fluorescent tube tray and a single screw! And quickly to follow this, the monitor is concealed behind a metal mesh that is screwed to the cab!

With some effort I work to tear off all offending pieces and minimize the damage this cab has already sustained from it's life in the public (as indicated by a recklessly screwed in name plate on the cp lower). All the screws are in bags and every piece is accounted for that is necessary for the cab. Ignored is that terrible shroud and the parts that aren't mine. The JAMMA harness was cut apart as well, cut at the connectors to allow the legs to be cleared of all wiring. I felt better not having that terrible thing tethered to the cabinet any longer.

The previous owner then aids me in moving the cabinet parts to my van with the base plus legs taking up the last position. I had left them on because disassembling had taken so long already (over an hour and a half) that I just wanted to be gone from this place). With the trunk closed up and a handshake I'm headed home. I will deal with the cab's removal from the van in the morning.
 

trenog

Gai's Trainer
10 Year Member
Joined
Dec 15, 2011
Posts
1,344
Restoration Journal [08/13/2013]

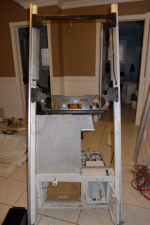
The cabinet is now home. The new day has come. I am aided by my brother to move the cabinet to the hallway to evaluate its existence.

05.png06.png07.png08.png09.png10.png11.png13.png12.png

...It's time for it to get clean.
 
Last edited:

trenog

Gai's Trainer
10 Year Member
Joined
Dec 15, 2011
Posts
1,344
Restoration Journal [08/13/2013] to [08/22/2013]

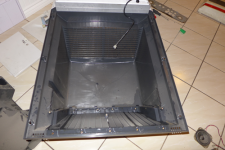
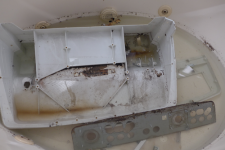
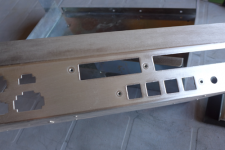
The first step in what I plan to do with the cab is to clean it. For that I make use of a variety of cleaning techniques. I firstly take the offending parts and rip off as much of the paper and sticker bits that show either mold or wear on them. I then take a random assortment of tile and grime cleaners plus a whole lot of water and soak everything in my largest tub available. Once enough of the terribleness is soaked through I scrub the offending parts and remove the stuff that clung to the cabinet in various places. When all that is done I set all the parts on the side to dry.
14.png15.png

In time what I do is go out and buy the most accessible cleaning solutions that are proven for the sanitization of the cab. Simple Green for the overall work, Goo Gone for the sticker residue, a Magic Eraser (that I lost and never found again), plus some non-abrasive sponges. I set to work again.

16.png18.png17.png
 

trenog

Gai's Trainer
10 Year Member
Joined
Dec 15, 2011
Posts
1,344
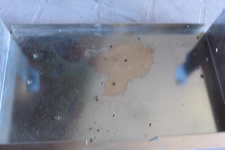
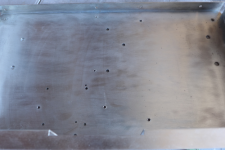
It was around the time of my research into keeping the cabinet in its best condition that I fell down a rabbit hole. I had discovered threads pertaining to the FULL restoration of arcade cabinets that were Naomi Universal cabinets or otherwise.
http://www.sega-naomi.com/forum/viewtopic.php?t=2941&postdays=0&postorder=asc&start=75&sid=214b9cb71a83b91a47d1bbfb16687ae8

http://shmups.system11.org/viewtopic.php?f=6&t=42767

And then I thought to look at automotive forums about the process of how they restore cars...And then I thought about my own arcade restoration...And then I was doomed...
 

trenog

Gai's Trainer
10 Year Member
Joined
Dec 15, 2011
Posts
1,344
Restoration Journal [08/28/2013] to [09/13/2013]

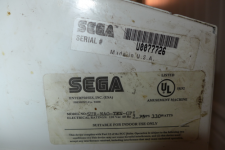
It was time...It was my time...And now the insanity would begin. The first thing I would need to do is preserve the stickerwork that I held most valuable (the Sega serial stickers) so I took pictures of those and removed them carefully.

19.png

I then needed to rinse the parts in soapy water to remove the Simple Green residue that might still linger on them. And leave them in the sun to dry.

20.png21.png22.png

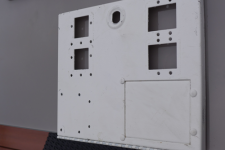
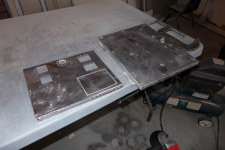
And then came the time to sand one man's arcade cabinet down to bare metal. For this part I used my existing variable-speed rotary polisher with some adhesive 80-grit sanding disks and some 100-grit sandpaper on a screw-down sanding plane. It took a lot of sanding disks and fewer pieces of sandpaper then that. But a LOT of time.

23.png24.png25.png26.png

I also had to deal with that crack in the back of the monitor shroud. So I made use of 1 minute fast setting, 2-part epoxy glue. I tried it on the marquee's broken parts to no avail.

27.png
 

trenog

Gai's Trainer
10 Year Member
Joined
Dec 15, 2011
Posts
1,344
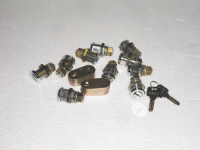
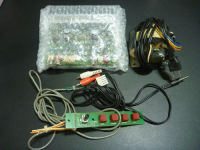
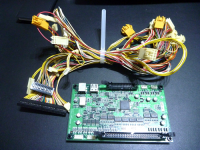
As an additional mention. It was around the time of my fevered research and cleaning that I came to look for missing components to my arcade cabinet. Namely, the JVS IO harness, the JVS IO, the control panel for the Test/Service buttons, the Naomi Amp, the Naomi Amp transformer, the locks, and all of the AMP/JST connectors plus additional bits I would eventually need to put all the wiring together.

Speaking with a pair of Japanese go-betweens I managed to secure all of the hardware parts from Yahoo Japan auctions.

30.png29.png28.png

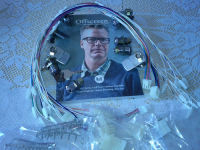
For the other bits I would need I then looked to ArcadeInvaders and Giz10p for my connectors and other such things.

31.png
 

Jassin000

Frenzy Football Player
Joined
Dec 9, 2011
Posts
985
Wow that's a fantastic cleaning job! I've thought about the chemical mixture "ultra bright" for body parts/pieces before, seems Simple Green is just as effective.
 

trenog

Gai's Trainer
10 Year Member
Joined
Dec 15, 2011
Posts
1,344
Wow that's a fantastic cleaning job! I've thought about the chemical mixture "ultra bright" for body parts/pieces before, seems Simple Green is just as effective.

Well I wouldn't say that. It's useful for parts that aren't horribly stained or discolored (just look at the move strip area on the control panel) but ultimately it just takes an additional fine layer off of grime from an existing plastic/metal piece. The big difference you might be mistaking is that the Simple Green "After" pic has the flash on while the first one does not.
 

codecrank

Whip's Subordinate
10 Year Member
Joined
May 2, 2011
Posts
1,751
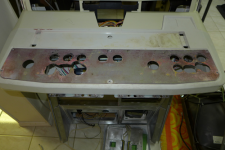
coming along very well ! what the hell happened to that control panel lol ?
 

trenog

Gai's Trainer
10 Year Member
Joined
Dec 15, 2011
Posts
1,344
Restoration Journal [09/13/2013] to [09/18/2013]

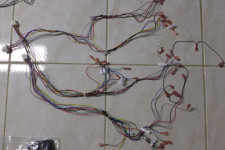
At the time of being nearly complete with the sanding of the metal parts to my cab I ended up running into a situation where I couldn't use my garage for some time due to it being used for other things I had brought the cab parts down to the basement and partially assembled them back into the shape of the cab. Because of this, I decided in this restoration lull to start working on all the component wiring that was going to be necessary for running the Naomi inside. I already had all the hardware (SUN PSU, Naomi Amp + Tranformer, Naomi, Isolation Transformer, and some of the old wiring) but I was missing still a few connectors and a whole lot of cables. So I set to work.

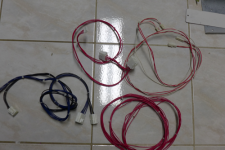
The first thing I did was to finalize my collection of necessary parts with an order to Digikey for more connectors and a longer USB cable. I also visited my somewhat distant parts store to buy up some quick-disconnect plugs for wiring to microswitches, more wiring (in 18awg, 20awg, 22awg, 24awg forms), some zip-ties, and some crimp caps to cleanly crimp together multiple wire ends together.

I downloaded the Naomi Universal Wiring Diagram from here: http://img263.imageshack.us/img263/9921/naomiuniversalwiringdia.jpg as a reference to figure out the types of wire used and the different kind of wire bundles I would need to make. I had also previously used it to figure out how many of what kind of connectors I would need to buy from the likes of Giz10p and Digikey also.

Ultimately I made several wire bundles:

  • 838-11856CE-02 to SUN PSU/Naomi Amp Tranformer Cable[NOB-60013]
  • Naomi Amp Stereo Out Cable[NOB-60045/46]
  • Naomi Amp Stereo Out to Speaker Cable[NOA-60024/25]
  • Naomi Amp Volume Control to Controller Board Cable[NOB-6004]
  • Monitor Demag to Controller Board Cable
  • JVS IO Power Extension Cable[NOB-60043]
  • JVS Power Extension Cable[600-7159-039]
  • GD-ROM Power Splitter Cable [605-0041]
  • Molex/AMP Adapter for Monitor Cable [NOB-60041]
  • Molex/Amp Adapter for Coin Counter Cable
  • Refurbished wiring to act as [NOB-6001/NOB-6004]
  • Sega Extra Button Loom, Modified for Cherry Microswitches [600-6227-10]
  • Player 1 Loom 1L/3B, Modified for Cherry Microswitches [600-6317-17]
  • Player 2 Loom 1L/3B (White), Modified for Cherry Microswitches [600-6317-18]

I got quite the crimper's cramp from it but I did it all in several days.

33.png32.png34.png

And when all that was done I could finally test out the Naomi setup to see if it all worked...And boy was I happy when it turned on and did :D

35.png
 

trenog

Gai's Trainer
10 Year Member
Joined
Dec 15, 2011
Posts
1,344
coming along very well ! what the hell happened to that control panel lol ?

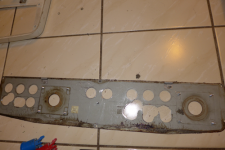
My guess is arcade operator stupidity happened. It's clear that the top row of holes were done properly but then something caveman-like emerged from their brain and they forgot themselves to the drillpress...I hope to bond a piece of metal behind the Kick buttons of each player, bondo the top, and then redrill new holes to match the top row. This way I can make use of this American panel layout.
 

trenog

Gai's Trainer
10 Year Member
Joined
Dec 15, 2011
Posts
1,344
Restoration Journal [09/18/2013] to [09/26/2013]

So time continued to pass and my opportunity to work on the cab was thin so I did what I could over the next few days.

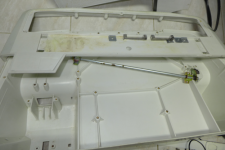
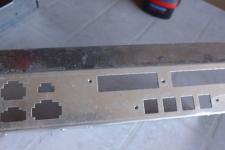
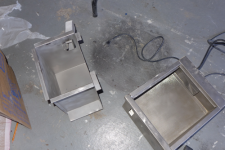
I took a wire brush and some 600/800grit sandpaper to the IO Tray and PSU/Sound Tray to brighten and clean up their finishes.

36.png37.png
38.png39.png

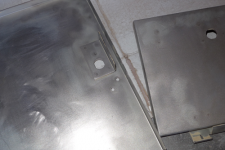
And I also got into a chance encounter while I was sanding down the bottom of the cab with my brother's friend who has access to a small-sized sandblaster at work. He took a couple of my pieces that I was having trouble with (the interior of the coin boxes and the back of the coin doors) and came back a few days later with the results.

40.png41.png

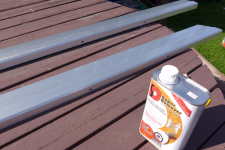
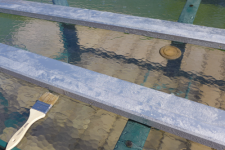
I also tried one sunny day to remove some layers off of the leg covers because I was looking to repaint them due to cuts along the bottom where the leg hooves would go and because of graffiti carved into the finish.

42.png43.png

I was only successful in removing the clearcoat sadly. I would later sand the parts down with 100grit sandpaper to better effect.
 

leonk

Marked Wolf
Joined
Feb 24, 2011
Posts
211
For the CP work, have you considered buying a new panel and punching out the holes you want? What joysticks were you thinking of using? Depending on the sticks there are different panels with correct mounting brackets. For example, my NAC has mounts for JLF (JLW won't line up correctly).

Punching new holes in new (existing 3 button CP) is not hard as long as you have the proper step drill bit and proper sized wrench punch (had to order this from UK as button holes are in mm) with the proper tools it comes out as clean as the factory originals.
 

pipes

DO NOT DEAL WITH!!!, DEAL OUTSTANDING!
Joined
Jan 28, 2010
Posts
2,711
Nice work! When you said you were going to restore it I had no idea you were going to take it to this level. Awesome stuff; I can't wait to see the finished product.
 

loegan43

I've served my time in the Dark Army., Have you?,
15 Year Member
Joined
Aug 28, 2007
Posts
1,946
Wow. Outstanding job so far. Thanks for documenting and taking the time to take photos throughout the process. Makes it easier to see the level of attention and detail you've put into it, let alone the challenges you've faced.
 
Top