One more Super Neo 29 Type II

evbraven

New Challenger
Joined
Aug 16, 2010
Posts
64
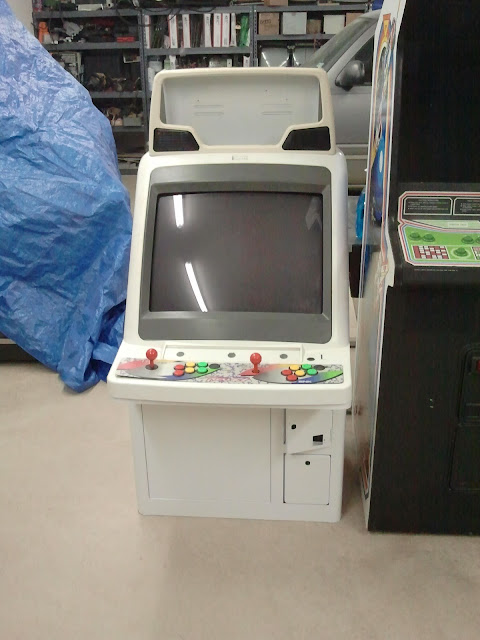
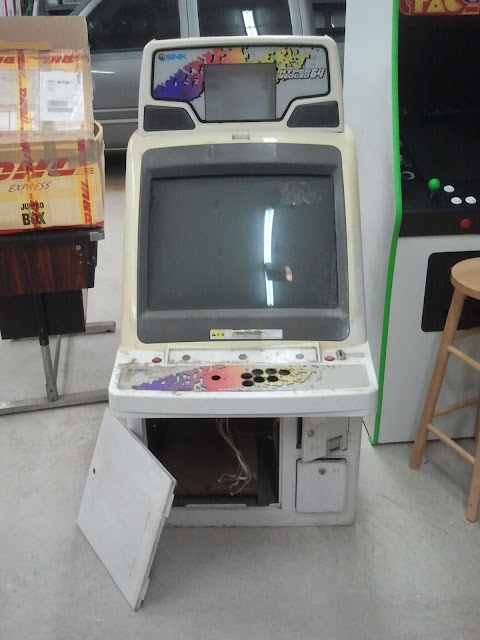
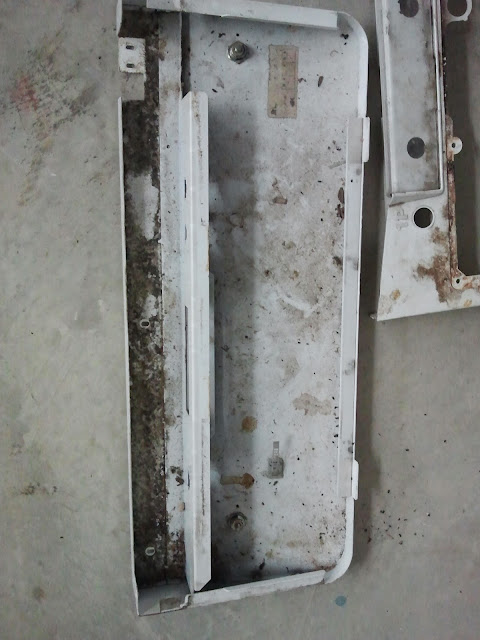
So this is the last of my SNK candy cabs. It is one of the filthiest cab I have ever laid my hands on (even though you can't really tell from these pictures). I have no idea what I'm going to do to this thing in the end....but it will not be plain boring white, that's for sure!
2013-01-20%252021.37.23.jpg

2013-01-20%252021.37.47.jpg

2013-01-20%252021.37.37.jpg

2013-01-20%252021.37.30.jpg


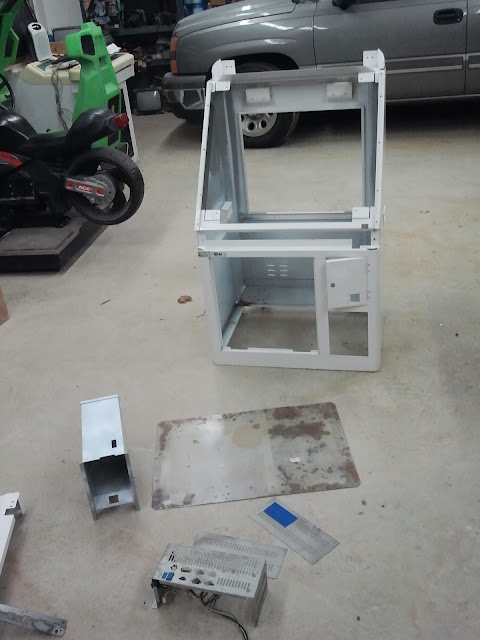
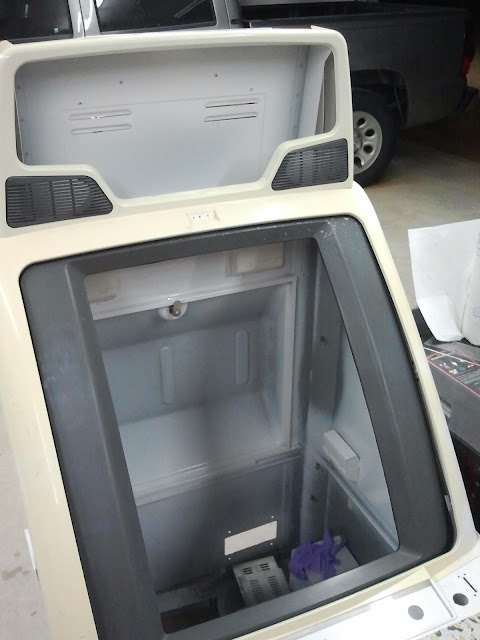
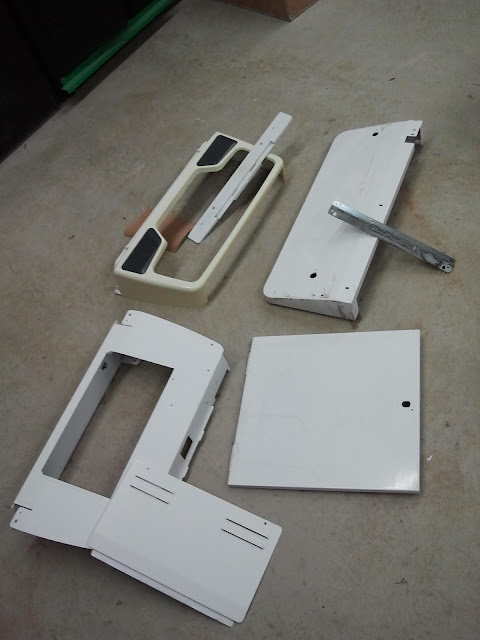
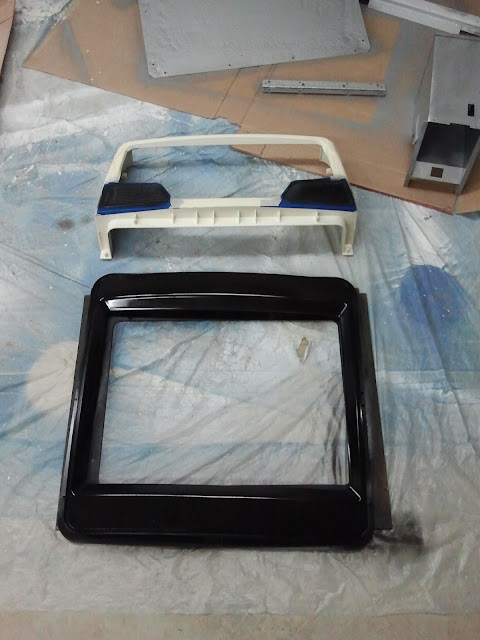
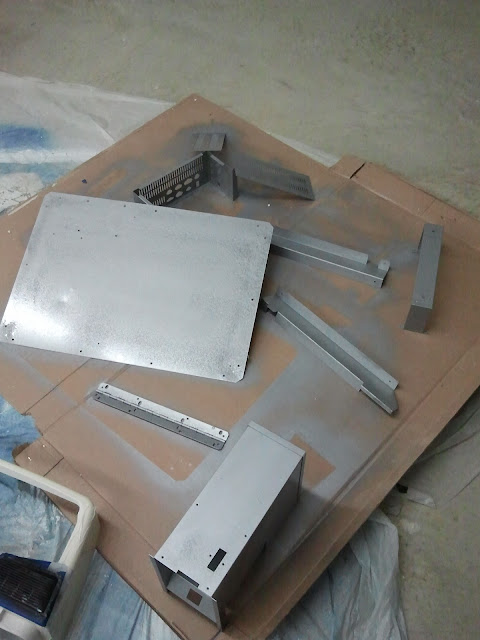
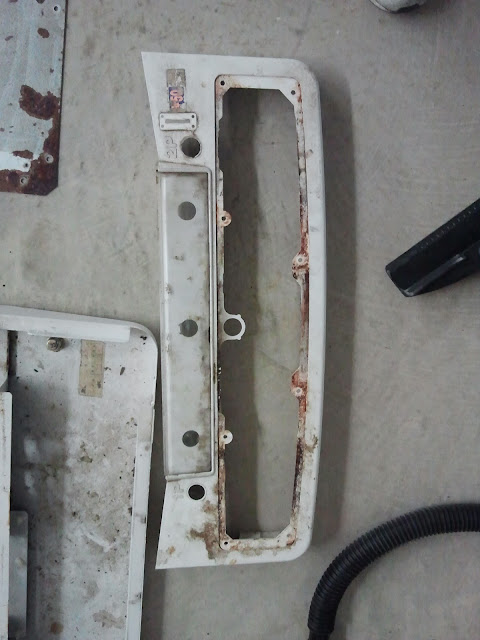
Started the tear down....
2013-01-20%252023.37.34.jpg


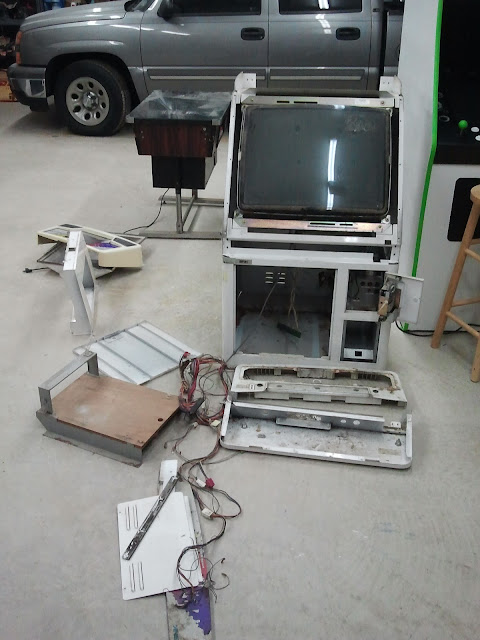
This one is going to be every screw, nut, and bolt removed. It will take me a while to do a total overhaul due to time constraints, but I want to make it really nice. Oh yeah, the monitor is not working either, so that is going to suck!
 

evbraven

New Challenger
Joined
Aug 16, 2010
Posts
64
Like I said, EVERY screw will be removed. The only ones left are the ones holding the bezel together until it's read to paint, and the ones holding the casters (easier to roll it around).

2013-01-22%252022.16.51.jpg


This is the first one I've actually removed the floor out of. As you can see, it had to be done. ICCKK!!

2013-01-22%252022.16.44.jpg


Control panel....WTF is this stuff?!?! Never mind, I don't want to know....

2013-01-22%252022.17.00.jpg

2013-01-22%252022.17.04.jpg


Little bit of rust here......
2013-01-22%252022.38.49.jpg
 

evbraven

New Challenger
Joined
Aug 16, 2010
Posts
64
Tonight's work was removing stickers, tape residue, etc, and then starting in on the rust. That floor panel and the coin vault were a mess, but are looking much better now. This cab will be repainted white inside and out, and the plastics will done in red and black (similar to a Namco Excelleena II). The monitor will get rebuilt or replaced in the next couple of weeks. I'm pretty sure the power supply is fine, but I'll tear into it later.

And to those who choke at the site of paint on a candy cab....don't watch. :D 
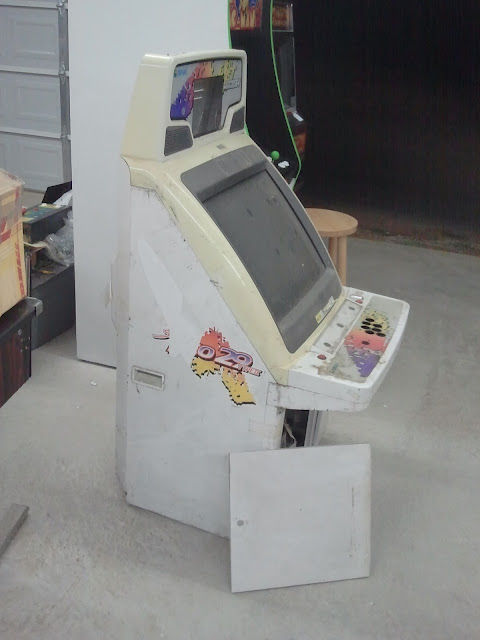
Really, we're not talking about rare, low production number machines. These really are just generic cabs in Asia, like Dynamos are here.
 
Last edited:

evbraven

New Challenger
Joined
Aug 16, 2010
Posts
64
as long as you don't paint it pink :D

Nah, one's enough. This one will be red and black over white, similar to this....but with matching colors on the controls and CP:
Arcade_namco_k_511.jpg


The reason most candy cabs are all white is because it's cheaper and easier for the maker, not because it's special. Namco put a bit most money and effort into theirs/
 
Last edited:

leonk

Marked Wolf
Joined
Feb 24, 2011
Posts
211
I thought it's all white for good luck. Isn't that the same reason why most cars in Japan are white?
 

wataru330

Mr. Wrestling IV
20 Year Member
Joined
Sep 16, 2003
Posts
9,708
Nah, one's enough. This one will be red and black over white, similar to this....but with matching colors on the controls and CP:
Arcade_namco_k_511.jpg


The reason most candy cabs are all white is because it's cheaper and easier for the maker, not because it's special. Namco put a bit most money and effort into theirs/

Konami & Windy II Sparkle coat disagree.

Closest match I've found for touch up is GM White Diamond car paint, and 1) it's not perfect- 2) it ain't cheap.
 

evbraven

New Challenger
Joined
Aug 16, 2010
Posts
64
I thought it's all white for good luck. Isn't that the same reason why most cars in Japan are white?
The Asian half of our family all say that its because white cars are less expensive. I know I see that to be true here too, so I'll take their word for it. (same reason work trucks and fleet cars for companies are usually all white)

Konami & Windy II Sparkle coat disagree.

Closest match I've found for touch up is GM White Diamond car paint, and 1) it's not perfect- 2) it ain't cheap.
Yes, but most candy cabs are plain generic white. Also, any paint is much cheaper in bulk. I have a buddy who used to be in paint and body, and he jokes I should use Chameleon paint.....which is insanely expensive!

I really like them cabs, does the LCD screen work?

I like them too! This one is missing the LCD screen unfortunately. My other two have them, and the CC cameras....but lack the special board to utilize them. I have two formerly linked cabs, but only the player two side back board. That one can have a composite feed to the LCD, but does not have the secondary JAMMA interface to be able to connect a board at the same time.
 

evbraven

New Challenger
Joined
Aug 16, 2010
Posts
64
I spent hours last night cleaning the bejesus out o f this thing. You all know that nasty residue they are always covered in from too many years of Asian cigarette smoke. I got after it with heavy duty degreaser made for cleaning barbeque grills. That does the trick! Top to bottom, inside and out....every nook and cranny. It takes forever cleaning inside every freaking little box-shaped area on those damn plastics. I'll get pics up later.

Now its ready to sand out the rest of the rust and prep for painting. The shell is too gone to just touch up, so a whole new coat of white enamel is required. The floor, coin box, and power supply shell will get painted too due to having to remove the rust. I'm not going to try getting them refinished since it didn't hold up anyway.

I need a new marquee plexi as this one is too cracked to reuse, and I'm missing all 4 levelers. I also really want a 2 player CP to go on here, although I may just tate the. monitor and run shmups in it for awhile.
 

IDCHAPPY

The Mad Jock.
Joined
Oct 6, 2009
Posts
3,277
It's amazing what a bit of elbow grease can do, great stuff.
I have a couple of E2's in Scotland you can fly over and do next :lolz:
 

evbraven

New Challenger
Joined
Aug 16, 2010
Posts
64
Began painting tonight......

First coat of white enamel on the pieces that were ready (insides are coated in proper white primer).

2013-01-31%252022.49.30.jpg


Yeah, black is going to look great on the speaker covers and bezel!

2013-01-31%252022.49.37.jpg


Hammered aluminum finish for the (formerly) rusty metal pieces. I also coated the bottom inside of the cab that is below this floor piece to protect it from a future rust resurgence. I really like how this turned out, and it covers over the bad areas very nicely. Sure, most of it will not be seen, but I'll know.

2013-01-31%252022.49.45.jpg

Not the best close up, it was still wet here.....
2013-01-31%252022.49.54.jpg
 

evbraven

New Challenger
Joined
Aug 16, 2010
Posts
64
I've stalled on this fro a few days since I brought my other games up from my old shop.....including a 6-player X-Men! I also traded around a got a beautiful Nanao MS-2931 (which I used to fix my Road Burners). It may eventually end up in a candy cab, but not yet.
 

evbraven

New Challenger
Joined
Aug 16, 2010
Posts
64
I've been getting the exterior painting going. Here it is after a few coats of gloss white enamel (oil-based...ugh). And yes, that IS the reflection of the floor/ cardboard you can see across the bottom of the side. Shiny!

2013-02-11%252000.05.12.jpg


2013-02-11%252000.04.58.jpg


Unfortunately, I checked on it tonight, and a moth had landed on the back door panel before it had cured. Now I have some sanding and touch up painting there. Stupid bugs! The air is too wet here tonight to paint though.

I also acquired ANOTHER Super Neo 29 yesterday! You can see it hiding in the first picture here. That one is in pretty rough shape, and missing some parts (front main door, marquee rear cover door, speakers), but it has a working monitor and 2P CP, so I can swap those onto this one and save some trouble. Yay!
 
Last edited:

evbraven

New Challenger
Joined
Aug 16, 2010
Posts
64
you are doing god's work.

Thanks! Now just remember you said that when I paint the rest of the plastics red.

I will say the interior parts came out great. I put the power supply back together the other night (after completely cleaning the inside....including the wires), and it's a beauty. The only problem is that the degauss button is missing. I have no idea where I can even find another one like that to replace it. Someone had also replaced the voltage pot, and it was the wrong size, so they snarled open the hole with a pair of dykes. I ended up having to fix that with a hammer and dremmel before painting. I even painted the piece of wood that mounts in to hold the game PCB. I'll get detailed pics up when it's all back together.
 
Last edited:

evbraven

New Challenger
Joined
Aug 16, 2010
Posts
64
Here's the newly refinished interior:

2013-02-12%252023.38.07.jpg


and an outside shot with the monitor in place. No, the white trim is not staying, it's just on for mock up until I paint the red. The bezel is the unpainted one from the cab I just got in over the weekend. I was putting everything back together, and realized I had forgotten to paint the coin box vault trim! I got one coat on last night, and will finish it off during touch-ups, then get it reattached.

2013-02-13%252000.08.20.jpg


I fixed the "moth attack" back door, and repainted it as well.
 

evbraven

New Challenger
Joined
Aug 16, 2010
Posts
64
Thanks! Yeah, I lucked into getting another one of these with that 2P CP on it. I stripped the sticks and buttons out of it tonight, and it cleaned up pretty well. I got the first coat of red on the plastics tonight, and the CP should look good with them. I was going to paint it also (like I've done before), but the overlay actually looks good. I may change my mind later, but it stays for now.
2013-02-13%252022.13.47.jpg
 
Joined
Oct 6, 2000
Posts
3,221
So no trouble with overspray indoors? I haven't done much painting and didn't know if the close proximity of the other cabs was a problem. Apparently not..
 

evbraven

New Challenger
Joined
Aug 16, 2010
Posts
64
I assume you are using a spray gun? How many coats are you doing?

So no trouble with overspray indoors? I haven't done much painting and didn't know if the close proximity of the other cabs was a problem. Apparently not..

I am using a spray gun, and doing about 3 coats or so.....depends on how each piece goes. The internals were actually painted using Krylon beaten metal finish spray paint.

Indoor spraying is tricky. I have a big garage space, so I move out my truck and paint in that stall. You can see the tarps in the background covering things just in case. The big problem is spraying clear coat. That stuff gets on everything! I paint with one door up and the gaming area covered.
 
Top